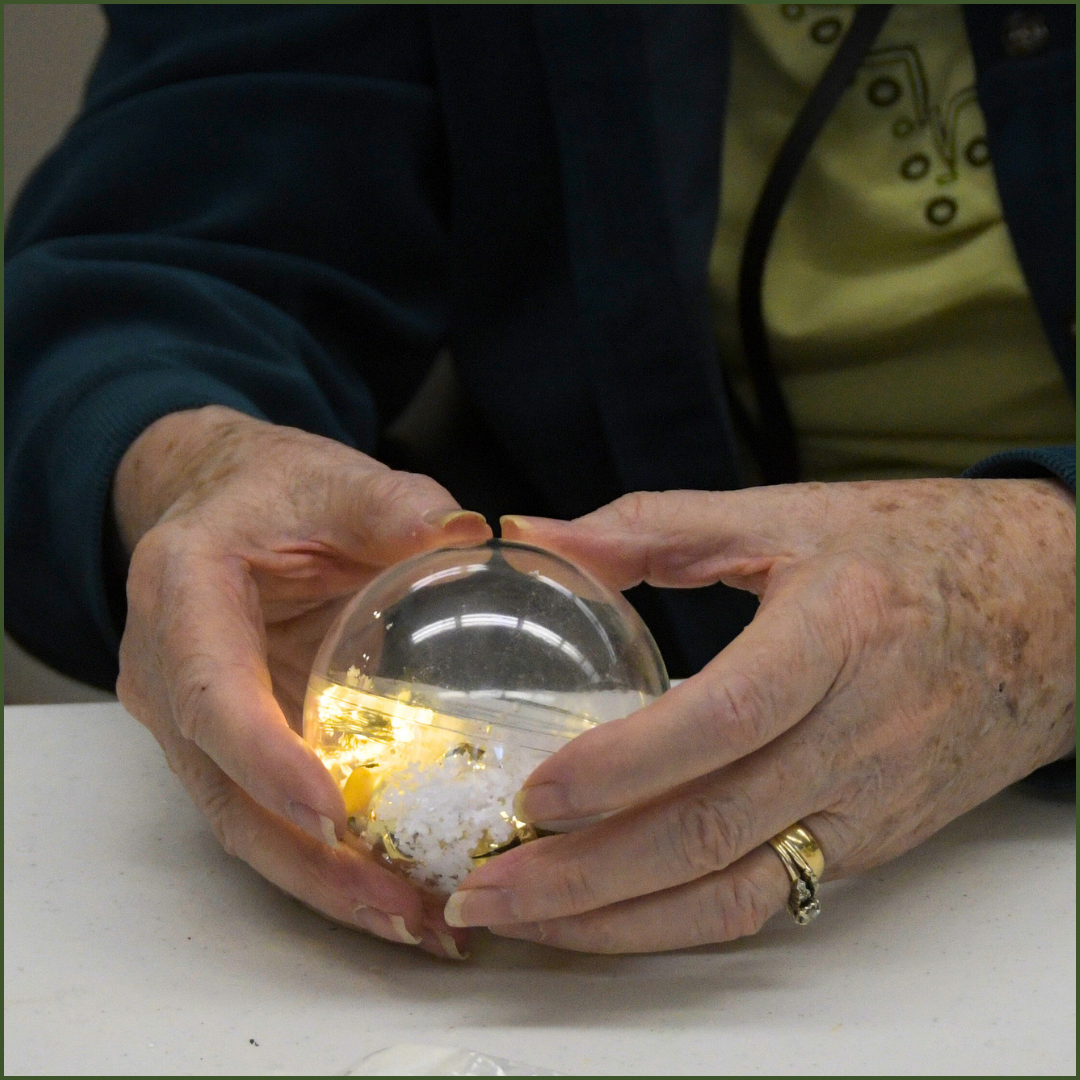
Easy Christmas Centerpiece Craft
The holiday season is the perfect time to add some festive cheer to your home with a DIY Christmas centerpiece. This easy-to-follow guide will help you create a beautiful and personalized table decoration that will make your home feel extra special. Whether you're giving a Christmas gift or simply want to bring some holiday spirit into your space, this project is a fun and creative way to spread the joy! Here is a list of some materials that you will need for this craft:
Scissors
Fake snow or white glitter
Ribbon
Garland or small Christmas wreath
Small LED lights
Bells
Optional sticker
Clear jar or ball container
Step 1: Open Your Container
Begin by selecting a clear container that will hold your Christmas centerpiece. This could be a glass jar, a mason jar, a vase, or any other clear vessel you have around. To start, remove the lid or top of your container. If you're using a jar with a screw-on lid, twist it counterclockwise to loosen and remove it. Make sure the container is open and ready to be filled with all the festive decorations you’ll use.
Step 2: Fill Your Container
Now, let your creativity flow! Begin filling your container with Christmas-themed decorations. Think about small items like miniature Christmas trees, tiny bells, holly leaves, cinnamon sticks, or festive figurines like Santa or reindeer. You can also include artificial greenery, such as sprigs of pine, holly, or mistletoe to give the arrangement a lush, holiday feel.
For an added sparkle, you might want to add some LED fairy lights inside the container. These will not only illuminate your centerpiece but also create a magical glow for your holiday gatherings.
Step 3: Add Some Festive Touches
Next, it’s time to add some finishing touches to make your centerpiece stand out. Sprinkle in some artificial snow, glitter, or faux berries to create a more seasonal look. You can also include pinecones or small ornaments to enhance the festive charm. The idea is to layer the decorations creatively so that your container looks full and beautiful from every angle.
Step 4: Seal the Container
Once you're happy with how your decorations look, it’s time to seal the container. If your container has a lid, carefully secure it back on. If you're using a jar, simply screw the lid on tightly. For other containers, you can leave it open or use a bit of glue to secure items in place, especially if you’ve included fragile or delicate ornaments that need extra stability.
Step 5: Add a Decorative Ribbon
To give your Christmas centerpiece a polished, festive touch, take a length of ribbon (about 4 to 5 inches long) and tie it around the neck of the container. If you’re using a jar, wrap the ribbon around the lid. Choose a ribbon in holiday colors like red, gold, silver, or green to match your theme. You can also pick a ribbon with patterns such as snowflakes, stripes, or even metallic finishes to add a touch of elegance and festive flair.
Step 6: Apply the Sticker
For the finishing touch, apply a holiday sticker to the outside of your container. A cute snowflake, a Christmas tree, or a festive wreath can give your centerpiece an extra bit of charm. This is also a great way to personalize your piece, especially if you're creating multiple centerpieces for a party or event.
Conclusion
Creating your own DIY Christmas centerpiece is an enjoyable and simple way to add festive cheer to your home. Whether you're decorating your living room, or looking for a unique gift idea, this personalized centerpiece is sure to bring a touch of magic to any space. With a few easy steps, you can make something beautiful and festive that reflects the warmth and joy of the season.
So, gather your materials, get creative, and enjoy making your very own Christmas centerpiece this holiday season!


